Alteration Workks
The Cloth Alterations
It’s the little things that make a big difference
It’s a slight tweak for a total transformation
Are you looking to make cloth alterations? If so, then you’ve come to the right place! This blog post will provide you with a comprehensive overview of the steps needed to alter clothes like a pro. From measuring and cutting to adding the finishing touches, this post will walk you through each step of the process
It’s the little things that make a big difference. Whether it’s a slight tweak or a total transformation, alteration is a powerful tool for creating the desired effect in the professional space.
Whether you’re an entrepreneur, a business executive, or a creative professional, alteration can provide the boost you need to stand out from the competition and make a lasting impression
Alteration is an invaluable tool for professionals looking to make a lasting impression and stand out. It gives them the ability to adapt and refine their approach to suit the needs of their choice, enabling them to capture the attention of their target audience and build relationships
Gathering Materials
Before you begin, you’ll need to make sure you have the right materials. You’ll need a measuring tape, fabric scissors, pins, a chalk pencil, and a sewing machine. Additionally, you’ll need fabric that matches the original material of the garment you’re altering. Once you have all of your materials, you’re ready to get started.
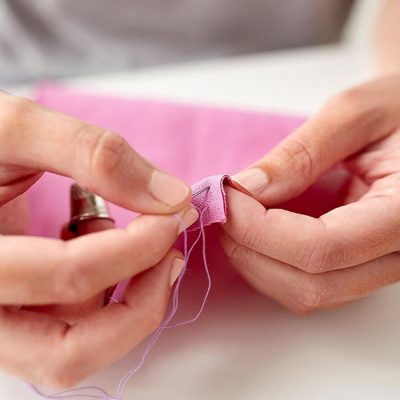
If you don’t have a sewing machine, you can still make alterations using hand sewing. The process is a bit more time-consuming, but it’s definitely doable. The materials you’ll need for hand-sewing are the same as if you were using a machine
Measuring and Cutting
The first step in making cloth alterations is to measure and cut the fabric. Start by measuring the area of the garment that needs to be altered and use the measuring tape to mark the desired length on the fabric. Then, use the fabric scissors to cut the material to the desired length. Make sure you cut the fabric carefully, as you don’t want to make any mistakes.
Once you’ve cut the fabric, you’ll need to pin it to the garment. This will help ensure that the fabric stays in place while you sew it. Use the chalk pencil to mark the area of the fabric that needs to be altered, as this will help you keep track of where you need to sew.
Sewing the Fabric
The next step is to sew the fabric. If you’re using a sewing machine, set it to the appropriate stitch length and tension. Then, carefully sew the fabric onto the garment. Make sure you follow the marked lines and take your time to ensure that everything is sewn correctly. If you’re hand-sewing, use a running stitch and make sure to tie off the thread when you’re done.
Once the fabric is sewn into place, you’ll need to trim any excess fabric. Use the fabric scissors to carefully trim away any excess material, being careful not to cut too close to the stitches. After that, you can add any additional details, such as buttons or zippers
For The Desired Product
The final step is to add the finishing touches. This includes adding buttons, zippers, or any other details to the garment. You can also use an iron to press the fabric, which will help it lay flat and keep it looking neat. Once you’re finished, your cloth alteration is complete!
Making cloth alterations is a great way to update or customize your wardrobe. Hope this blog post has provided you with a comprehensive overview of the steps needed to make cloth alterations in a desire form.
From gathering materials and measuring to sewing and adding the finishing touches, this post has walked you through each step of the process.
Now it’s time to get started and make some alterations!


